Clear Bra Install Styles
All clear bra installs are the same, right? Wrong! This could not be further from the truth. There are many level of clear bra installations, quality levels, and aspects that need to be addressed before we hone in on a "quality for the dollar install." Let's take a look at some of the differences, and then we will show you what our clear bra installs look like when we are given the green light for a custom install.
Film choice is one factor. Some look more optically clear and translucent, some are seemingly thicker, some have more orange peel, some have a glossier appearance. No matter what you are after, we have the solutions for you between our 4 lines of film. Xpel, 3M, Stek, Suntek.
After choosing your film choice, you need to choose your install style. There used to be 3 install styles, but today, no one is installing straight patterns without any wrapped edges. Actually, if they are, its the dealership or a very cheap shop pumping out volume work as fast as possible. The install options we have are titled Standard and Custom. Both have their place for people with different needs and budgets.
The Standard Install
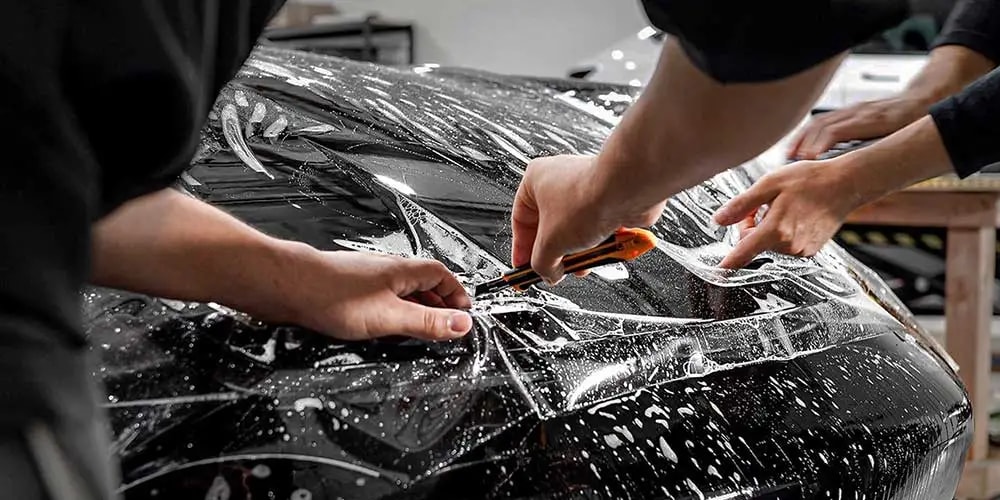
This is our entry level style of install. We will use a plotted kit with 1/4" wrapped edges so the edge of the film is on the inside edge of panels, hard to see. There is an alignment point in the corners. This is the ideal style of install for those looking for coverage, but don't mind seeing an edge or two here and there.
The Custom Install
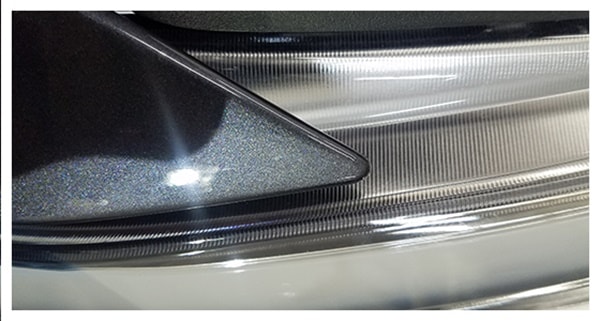
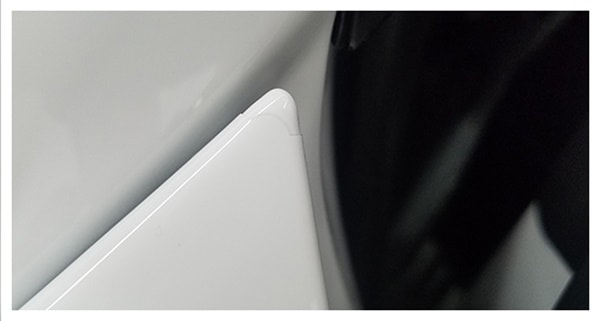
For those looking for a more seamless, no edges, wrapped and capped corners, the Custom Install is what we offer. This style of install requires more time and effort to perform correctly. It involves more dismantling of the common removeable items (such as emblems, vents, grills) in order to hide the edges of the film underneath them, Removing some parts for a smoother and cleaner install in order to get the film to lay down properly. Here you will notice the corners are capped (no point in them) and edges are carefully laid and trimmed along the inside edge of the panel for more complete coverage of the whole panel.
